
Planted tanks: a CO2 starter guide that actually keeps plants alive
Adding CO2 to a planted tank is the single biggest jump in growth rate and visual quality a planted hobbyist can make. The plants that look impossible in a low-tech tank — carpeting plants, red plants, stem plants with full bottom-to-top growth — are not impossible plants, they are plants that need a continuous carbon supply faster than the fish and surface diffusion can provide. A pressurized CO2 system, set up correctly, changes the entire plant growth equation. In this article I will walk through the equipment you need for a starter high-tech planted tank, the CO2 dosing that matches the light level you actually have, the daily routine that keeps the system stable, and the troubleshooting that catches the three most common failure modes before they kill the plants or the fish.
The principle: CO2 is the rate-limiting nutrient
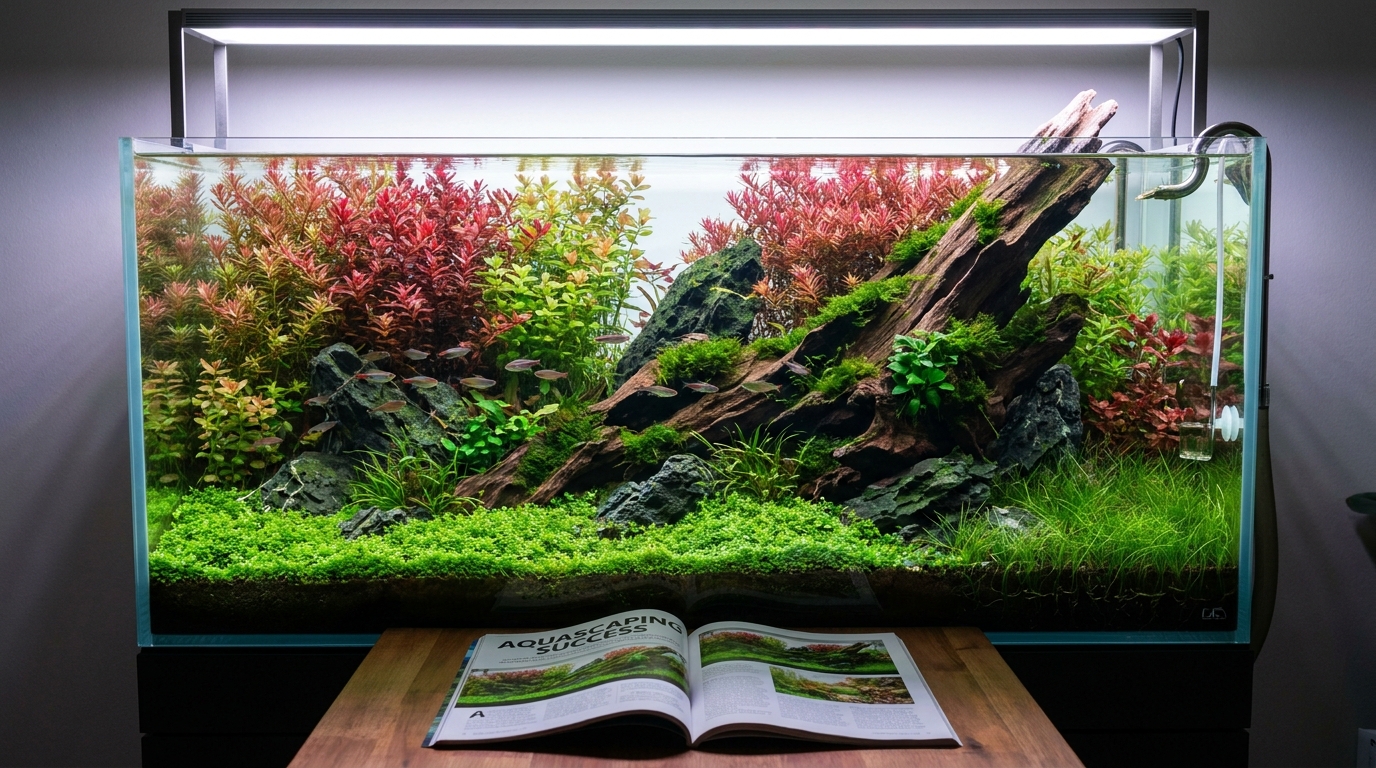
In a planted tank, plants need light, CO2, nitrogen, phosphorus, potassium, and trace elements. In a low-tech tank with no CO2 injection, light is the rate-limiting factor — you cannot give the plants too much light because they will run out of CO2 and start producing algae instead. In a high-tech tank with CO2 injection, CO2 is the rate-limiting factor, which means you can push the light much higher and the plants will use the light and the CO2 together to grow. The visual result is dramatic — carpeting plants grow in 4-6 weeks instead of 4-6 months, red plants actually turn red, stem plants grow 2-3 inches per week.
The CO2 level that the plants can use is roughly 15-30 ppm dissolved in the water. Tap water has 3-5 ppm CO2 from atmospheric equilibration. Fish respiration and surface diffusion add a small amount. The gap between ambient CO2 and 30 ppm is the gap that the CO2 system fills. Too little CO2 and the plants run out at high light, and algae takes over. Too much CO2 and the fish suffocate. The right CO2 level is the highest number the plants will use without causing the fish to gasp at the surface.
The equipment: cylinder, regulator, diffuser, timer
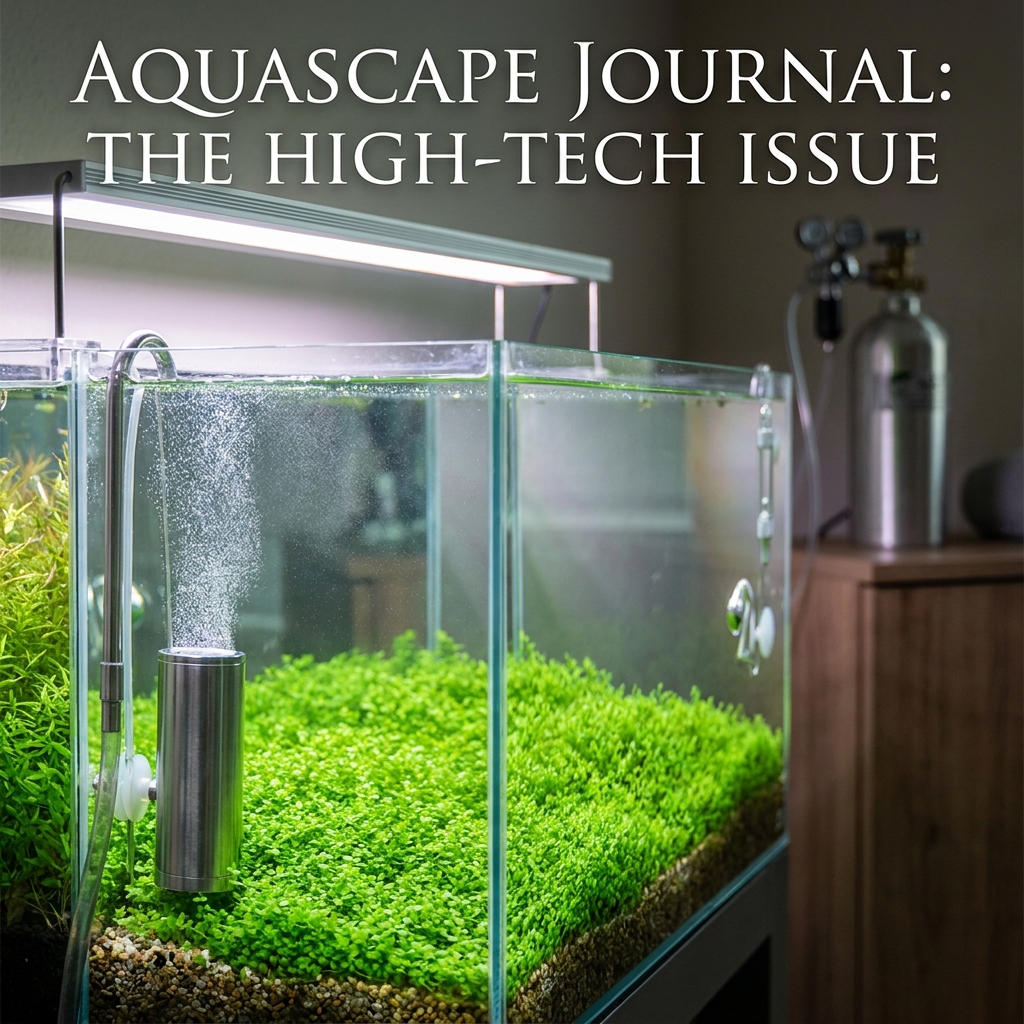
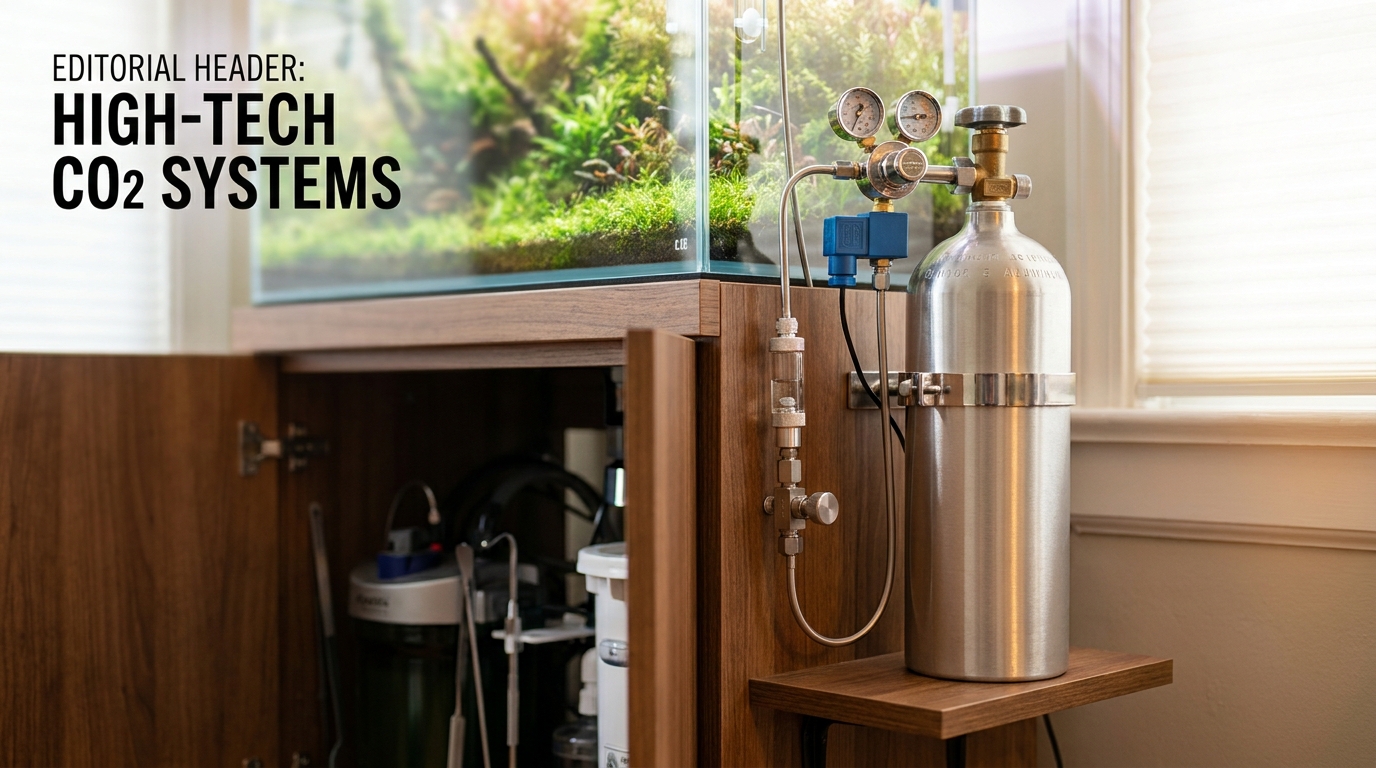
The four pieces of equipment, in order. A 5-pound CO2 cylinder, the same size used for beverage dispensers. A regulator that steps the cylinder pressure (about 800 psi when full) down to a usable working pressure (about 30-50 psi). The working pressure feeds the needle valve, which is where the bubble rate is set. A CO2-proof tubing runs from the needle valve to the diffuser. A diffuser is a small device that breaks the CO2 stream into the smallest possible bubbles, so they dissolve into the water column instead of rising to the surface and escaping. The most common diffuser materials are stainless steel (more expensive, lasts forever) and glass ceramic (less expensive, needs replacement every 1-3 years).
The fifth piece of equipment that is often missed is a solenoid valve. The solenoid is an electrically operated valve that opens and closes on a timer. The reason: plants use CO2 during the light period and very little during the dark period. The CO2 should be on 1-2 hours before the lights come on (so the CO2 is dissolved and available when the plants start photosynthesizing) and off 1 hour before the lights go off (so the CO2 level has time to drop before the fish settle in for the night). A solenoid on a timer automates this; without a solenoid, the owner is on the same schedule as the plants, and the CO2 runs all night, wastes gas, and stresses the fish.
The dosing protocol: how many bubbles per second
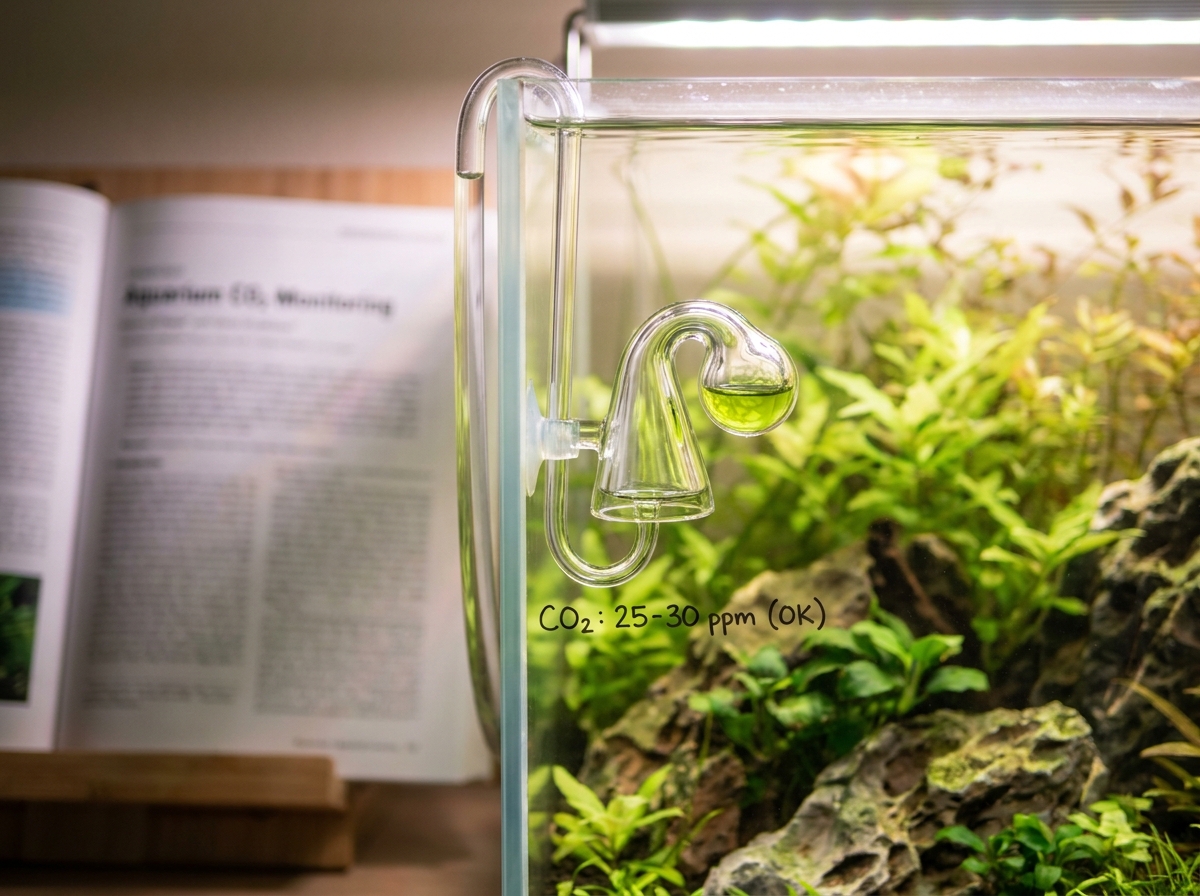
The bubble rate depends on tank size, light level, and plant mass. The general rule: 1-3 bubbles per second for a 10-gallon tank, 3-5 bubbles per second for a 20-gallon tank, 5-10 bubbles per second for a 40-gallon tank, scaled by light intensity. The "drop checker" is the tool that actually answers the question. A drop checker is a small glass device that hangs inside the tank and contains a reference solution that changes color based on the dissolved CO2 level in the tank. Blue means too little CO2. Green means 20-30 ppm, which is the target. Yellow means too much CO2, and the fish are at risk. The drop checker is the most important $20 piece of equipment in a CO2 system. It removes the guessing from the bubble rate and tells the owner in real time whether the CO2 is in the right range.
The startup protocol: set the bubble rate low (1 bubble per 3-4 seconds), turn the CO2 on 2 hours before the lights come on for the first week, watch the fish. If the fish are normal, increase the bubble rate by 1 bubble per second every 2-3 days. Watch the drop checker — it should turn from blue to green over 2-3 hours after the CO2 turns on. If the drop checker turns green but the fish start gasping at the surface, the CO2 is too high; turn it down. The fish response is more important than the drop checker color.
The lighting pairing
The light level is what determines the CO2 demand. A tank with 30 PAR at the substrate and no CO2 is a tank that will grow algae. The same tank with 30 PAR and 30 ppm CO2 is a tank that will grow plants. The light-CO2 pairing is the most important relationship in the high-tech planted tank. The recommended PAR range for a high-tech planted tank is 50-80 PAR at the substrate for carpeting plants, 30-50 PAR for mid-ground plants, and 20-30 PAR for low-light plants and stem plants. The light duration is 6-8 hours, no more. A tank with too much light and too little CO2 is the classic setup for a black beard algae or staghorn algae outbreak. A tank with the right light and the right CO2 is a tank that grows plants and not algae.
The daily routine
A high-tech planted tank with CO2 has a daily routine that a low-tech tank does not. The morning routine: check the drop checker color (should be green), check the bubble rate (should match yesterday's setting), check the fish (no gasping at the surface), check the plants (no melting or yellowing). The evening routine: 1 hour before lights off, turn the CO2 off (or let the timer do it), watch the fish for any late-day stress response. The weekly routine: 30-50% water change, dose macro and micro nutrients after the water change, trim the fast-growing plants, clean the glass. The monthly routine: check the CO2 cylinder pressure (a 5-pound cylinder lasts about 6-9 months in a 20-gallon tank; a 20-pound cylinder lasts about 2-3 years), clean the diffuser if the bubble stream has become uneven.
The three failure modes
The first is the CO2 crash. The cylinder runs out, the bubble rate drops to zero, the drop checker turns blue, the plants stop growing, and within 2-3 weeks the algae takes over. The fix: keep a spare 5-pound cylinder on hand, swap when the working cylinder reads below 400 psi on the regulator gauge. The second is the fish kill. The CO2 rate is too high, the fish are gasping at the surface, and if not corrected quickly, the fish die. The fix: turn the CO2 off immediately, do a 50% water change, increase surface agitation temporarily, and reduce the bubble rate by half before resuming. The third is the algae bloom. The CO2 is not keeping up with the light, the plants are stunted, and the algae — usually black beard or staghorn — colonizes the slow-growing plant tissue. The fix: reduce the light duration or the light intensity, increase the CO2 rate, dose a comprehensive liquid carbon supplement, and manually remove the algae with a toothbrush or a hydrogen peroxide spot treatment.
The starter list
For a 20-gallon high-tech planted tank, the equipment list is: 5-pound CO2 cylinder, regulator with solenoid, needle valve, CO2-proof tubing, stainless or ceramic diffuser, drop checker, 4-bulb T5 HO or a modern LED with a 50-80 PAR rating, 50-100 watt heater, canister filter rated for 40+ gallons, and a comprehensive macro/micro nutrient dosing regimen (3 caps daily of a quality liquid fertilizer, or dry salts mixed by the owner). Total cost: $300-500 in equipment, $30-50/month in CO2 and nutrients. The cost is real, and so is the result. A properly run high-tech planted tank is the most beautiful tank a hobbyist can keep.