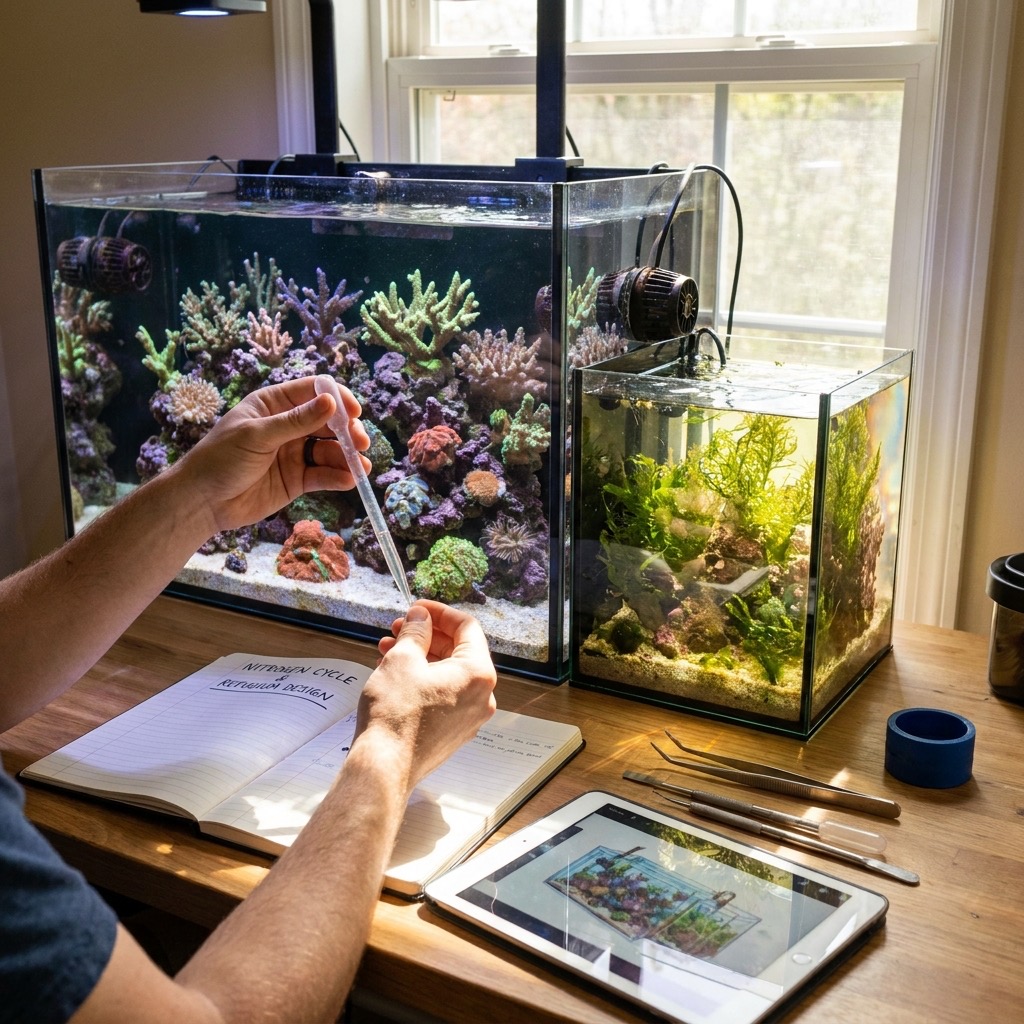
Nitrogen cycle and refugium design: a reefkeeper's complete guide
The nitrogen cycle is the engine room of every marine aquarium. Every piece of equipment, every water change, every piece of livestock is, ultimately, about managing the nitrogen that enters the water as waste. A reefkeeper who doesn't understand the nitrogen cycle is operating a complex system by feel. A reefkeeper who does understand it can predict problems, troubleshoot quickly, and build a system that runs for years without intervention.
The refugium is the most efficient single piece of equipment a reefkeeper can add. It exports nutrients before they break down into nitrate, grows food for the tank, stabilises pH overnight, and provides a refuge for microfauna. Done correctly, a refugium is the single biggest upgrade a reef tank can receive.
This is the technical detail, the math, and the design decisions that matter.
The nitrogen cycle in a marine aquarium
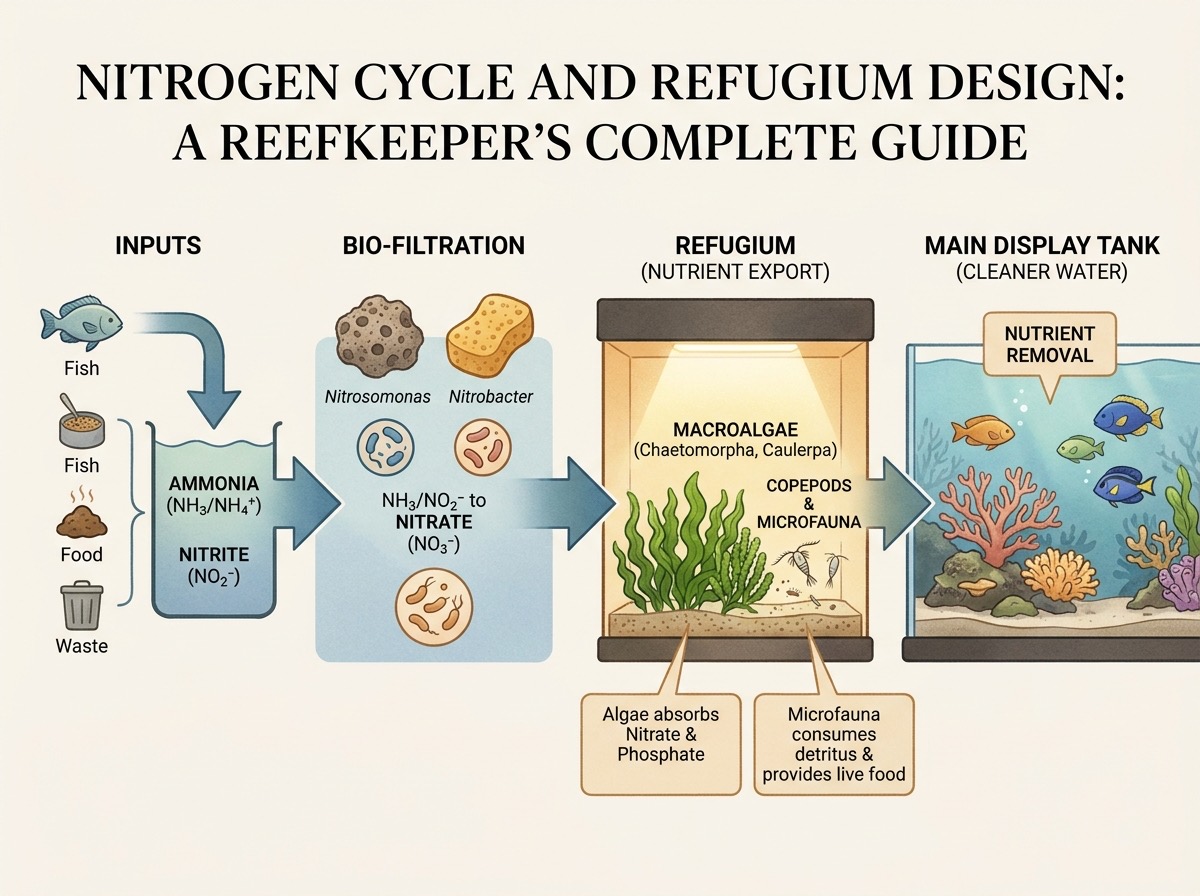
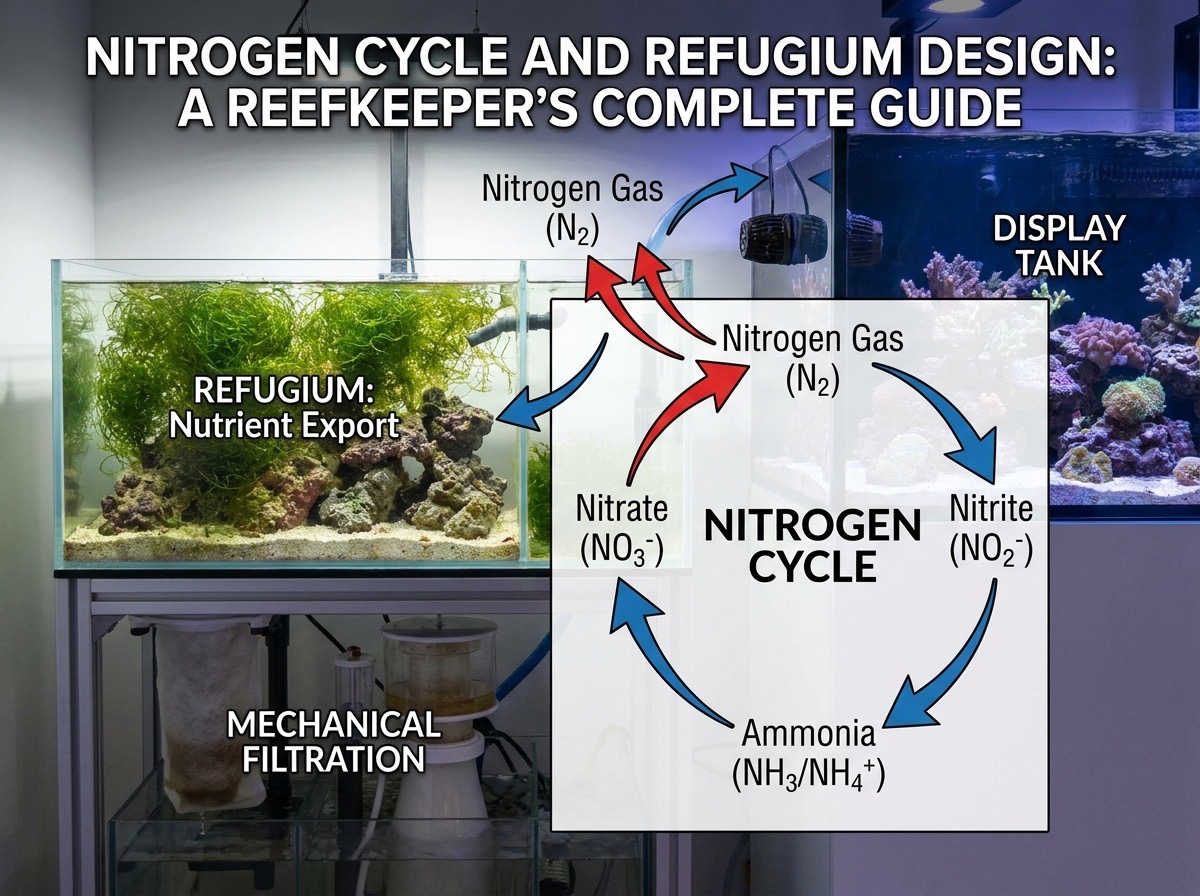
The nitrogen cycle converts toxic ammonia (NH3/NH4+) into less toxic nitrate (NO3-) through a two-step bacterial process:
Step 1: nitrification — ammonia to nitrite
Ammonia-oxidising bacteria (AOB) — primarily Nitrosomonas species — oxidise ammonia to nitrite (NO2-).
- AOB are slow-growing, with generation times of 8-12 hours
- They colonise surfaces with high oxygen and water flow
- They are sensitive to pH below 7.5, temperature below 20°C, and the presence of antibiotics or medications
- The intermediate product, nitrite, is highly toxic to fish and invertebrates
The reaction: NH3 + 1.5 O2 → NO2- + H+ + H2O
Step 2: nitrification — nitrite to nitrate
Nitrite-oxidising bacteria (NOB) — primarily Nitrobacter and Nitrospira species — oxidise nitrite to nitrate (NO3-).
- NOB are even slower-growing than AOB, with generation times of 12-24 hours
- They are also sensitive to low pH, low oxygen, and chemical disturbances
- The end product, nitrate, is far less toxic than ammonia or nitrite, but at high concentrations it still affects coral health and algae growth
The reaction: NO2- + 0.5 O2 → NO3-
Why this matters
In a new tank, the bacterial colonies are not yet established. The tank goes through "new tank syndrome" — ammonia spikes, then nitrite spikes, then a slow decline to stable, low levels. This process takes 4-6 weeks minimum and 8-12 weeks for a fully established bacterial population.
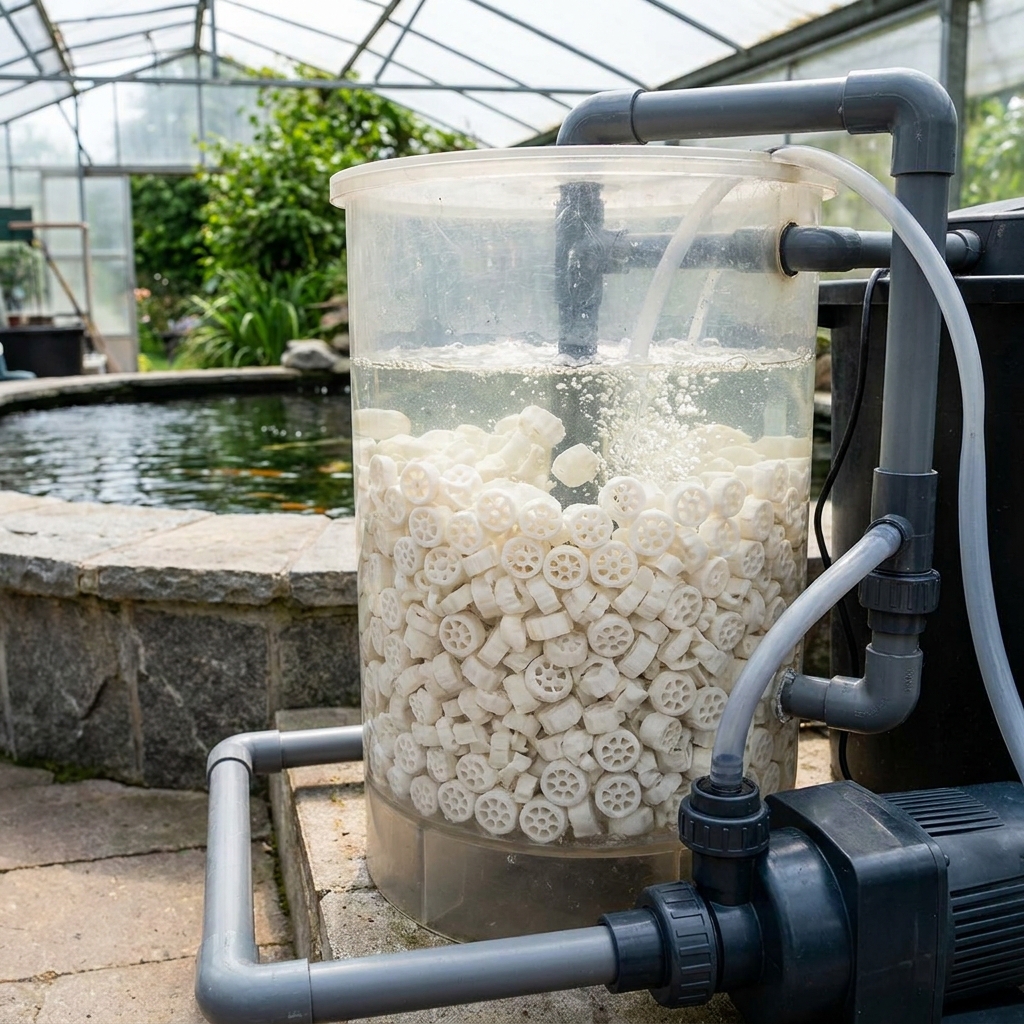
The bacteria are not free-floating in the water. They live on surfaces — live rock, ceramic media, sand, filter floss, glass. The total surface area available determines the bacterial population and the tank's capacity to process waste. A tank with 100 lbs of high-porosity live rock has vastly more bacterial surface area than a tank with 20 lbs of low-porosity base rock.
Cycling the tank
To cycle a tank, you need an ammonia source. The standard methods:
- Pure ammonia (ammonium chloride): the cleanest method. Dose to 2-4 ppm ammonia, monitor ammonia/nitrite/nitrate daily, wait for ammonia and nitrite to drop to zero with rising nitrate. Time: 4-6 weeks
- Fish food or frozen shrimp: the "old way". Add food, let it decompose, monitor. Slower and messier. Time: 6-10 weeks
- Live rock from an established system: brings established bacteria. Dramatically shortens the cycle. Time: 2-4 weeks
- Bacterial supplements: products like DrTim's, Seachem Stability, or Microbe-Lift. Add bacteria directly. Useful but not a substitute for a proper cycle. Time: 3-5 weeks with seeded media
- Siporax or Matrix from an established tank: a chunk of mature biological media from another system seeds the bacteria
The cycle is complete when the tank can process 2-4 ppm ammonia to nitrate (with no detectable ammonia or nitrite) in 24 hours. The nitrate level at the end of this test indicates how much waste the tank produced from the test dose.
After the cycle
The bacterial population must be maintained:
- Stable bioload: don't add a dozen fish at once. Add livestock gradually over weeks
- Stable water parameters: pH, temperature, salinity affect bacterial efficiency
- Avoid medications: antibiotics kill the bacterial population. Move fish to a hospital tank for treatment
- Avoid sudden water changes: bacteria tolerate normal water changes, but very large or rapid changes disrupt them
- Provide surfaces: keep live rock, ceramic media, and other high-surface-area materials in the system
A mature tank has a bacterial population capable of processing the daily waste load with ammonia and nitrite staying at 0 ppm. This is the goal of cycling.
Beyond nitrification: the denitrification path
Nitrate (NO3-) is the end product of nitrification. In low concentrations, it's tolerable. In reef tanks, it must stay below 10-20 ppm to avoid nuisance algae and coral stress. The way nitrate is removed:
Water changes
The simplest and most reliable. A 10-20% weekly water change removes nitrate proportional to the water changed. A tank with 20 ppm nitrate that does a 20% water change drops to 16 ppm.
Protein skimming
A protein skimmer removes dissolved organic compounds (DOCs) before they break down into nitrate. This is upstream of the nitrogen cycle — by removing organics, the skimmer reduces the waste load on the bacteria. A well-tuned skimmer is a critical component of nutrient export.
Macroalgae export
Macroalgae (Chaetomorpha, Caulerpa, Gracilaria) consume nitrate and phosphate as nutrients. The algae is then harvested and removed, exporting the nutrients with it. This is the principle behind the refugium.
Deep sand bed (DSB) denitrification
In a deep sand bed (4-6 inches), anaerobic bacteria in the lowest layers convert nitrate to nitrogen gas (N2), which off-gases from the tank. This is denitrification. The DSB requires careful setup and is a slow, stable form of nitrate reduction.
Carbon dosing
Dosing a carbon source (vodka, vinegar, biopellets) feeds heterotrophic bacteria that consume nitrate and phosphate. The bacteria are then exported via the skimmer. Effective but requires monitoring and adjustment.
Nitrate-reducing media
Products like NPX, Biopellets, or Seachem De*Nitrate reduce nitrate via bacterial action. Less common in modern reefing but still in use.
The reefkeeper's choice
For a low-nutrient reef tank, the standard approach combines:
- Protein skimmer (continuous DOC removal)
- Refugium with macroalgae (continuous nitrate/phosphate export)
- Two-part dosing (calcium and alkalinity supplementation)
- 10-20% weekly water changes (replacement of trace elements, water freshness)
The refugium is the linchpin of the nutrient export strategy.
The refugium: design and function
A refugium is a separate compartment, usually connected to the main display, that houses macroalgae, deep sand, and live rock. The name comes from the concept of a "refuge" — a place for microfauna to reproduce without predation from the display, and a place for nutrient export to occur.
The key functions of a refugium
- Nutrient export via macroalgae: Chaetomorpha, Caulerpa, or Gracilaria consume nitrate and phosphate. The algae is harvested, exporting nutrients
- Microfauna production: copepods, amphipods, and other small invertebrates breed in the refugium. They migrate to the display at night, providing food for mandarinfish, wrasses, and corals
- pH stabilisation: macroalgae consume CO2 at night (and produce it during the day). In a properly lit refugium, the night-time CO2 consumption helps buffer the pH drop
- Water clarity: the macroalgae and sand bed act as additional biological filtration
- Oxygenation: the macroalgae and surface agitation oxygenate the water
Sizing the refugium
The general rule: the refugium should be 10-30% of the display's water volume. A 100-gallon display should have a 10-30 gallon refugium. Larger refugia export more nutrients; smaller refugia are fine for low-bioload tanks.
- 10% of display volume: low-bioload, well-skimmed tank
- 20% of display volume: standard mixed reef
- 30% of display volume: heavy bioload, high-nutrient tank
Lighting the refugium
The refugium lighting schedule is the key design decision. The standard approaches:
- Reverse photoperiod (most common): lights on in the refugium when the display lights are off, and vice versa. This:
- Stabalises pH (algae consume CO2 at night when the display's pH is dropping)
- Reduces the daily pH swing
- Maximises oxygen production at night when fish and corals are producing CO2
- Reduces competition for nutrients with zooxanthellae (which photosynthesise during the day)
- 24-hour lighting: continuous light in the refugium. The macroalgae grows faster, but the pH is less stable. Less common.
- Same photoperiod as display: easier to manage but loses the pH benefits.
Lighting choice:
- Cheapest and most effective: a simple LED shop light, 6500K (daylight), 1-2 watts per gallon of refugium volume
- T5 fluorescent: works but less efficient
- Metal halide: overkill for a refugium
- Blue LED only: works for growth but the macroalgae grows slower than with full-spectrum light
Run the lights 12-16 hours per day, in reverse photoperiod to the display.
Macroalgae choice
The three most common refugium macroalgae:
- Chaetomorpha (Chaeto): spaghetti-like, fast-growing, doesn't go sexual, easy to harvest. The standard choice
- Caulerpa: fast-growing but goes sexual (releases spores and tissue into the water, which can cause nutrient spikes and pH crashes). Not recommended for refugia
- Gracilaria (Ogo): edible for fish, attractive, slower-growing. Good for fish-heavy tanks
For most reefkeepers, Chaeto is the right choice. It grows fast, doesn't go sexual, is easy to harvest by pulling out a handful, and is unattractive enough that nobody minds when it goes in the trash.
Water flow through the refugium
The flow direction matters:
- Display → Refugium → Sump → Display: the standard setup. Water flows from the display's overflow into the refugium first, then into the sump (with skimmer, return pump, equipment), then back to the display
- Display → Sump → Refugium → Sump → Display: less common. The refugium is in line with the sump
The first option is preferable because the refugium receives the freshest waste from the display, before any processing. The macroalgae has access to the highest concentration of nutrients.
Flow rate: the refugium should turn over 5-10 times its own volume per hour. A 20-gallon refugium should have 100-200 gph flowing through it.
Sand bed in the refugium
A 3-4 inch sand bed in the refugium serves as:
- Additional biological filtration (nitrifying bacteria colonise the sand)
- Anaerobic denitrification zone (lower layers)
- Microfauna habitat (copepods, amphipods breed in the sand)
Sand choice: fine aragonite sand (1-2 mm grain size) is standard. Coarser sand has less surface area for bacteria. Live sand is helpful but not required — dry sand will develop bacterial populations within weeks.
Live rock in the refugium
A few pieces of live rock in the refugium provide:
- Additional surface area for bacteria
- Hiding places for microfauna
- A biological buffer for parameter swings
Don't overload the refugium with rock. The goal is macroalgae and sand, with some rock as habitat.
Setting up the refugium: a step-by-step protocol
Step 1: choose the container
- Standard sump refugium chamber: most sumps have a designated refugium chamber, typically 1/3 to 1/2 of the sump's footprint
- Hanging refugium: a separate chamber hung on the back of the tank, connected to the display
- Standalone refugium: a separate aquarium (5-30 gallons) plumbed into the system
The simplest and most common: a chamber in the sump.
Step 2: add the sand
- 3-4 inches of fine aragonite sand
- Distribute evenly
- Use dry sand if the refugium is not part of an established system — the bacteria will colonise
Step 3: add the live rock
- 5-10 lbs of cured live rock
- Stack loosely for water flow and surface area
Step 4: add the macroalgae
- Start with a softball-sized chunk of Chaeto
- Place it loose in the refugium
- The Chaeto will grow and fill the chamber
Step 5: set up the lighting
- Mount an LED light above the refugium chamber
- Set the timer for reverse photoperiod (on when display lights are off)
- 12-16 hours per day
Step 6: tune the flow
- Adjust the water flow into the refugium
- Aim for 5-10 turnovers per hour
- Gentle flow — the Chaeto should tumble, not be blasted
Step 7: monitor and adjust
- Test nitrate and phosphate weekly
- The nitrate should drop 5-10 ppm per week as the Chaeto establishes
- Phosphate should drop to undetectable levels within 4-8 weeks
- Harvest Chaeto when it fills the chamber (typically every 2-4 weeks)
Harvesting Chaeto: how to avoid releasing nutrients back
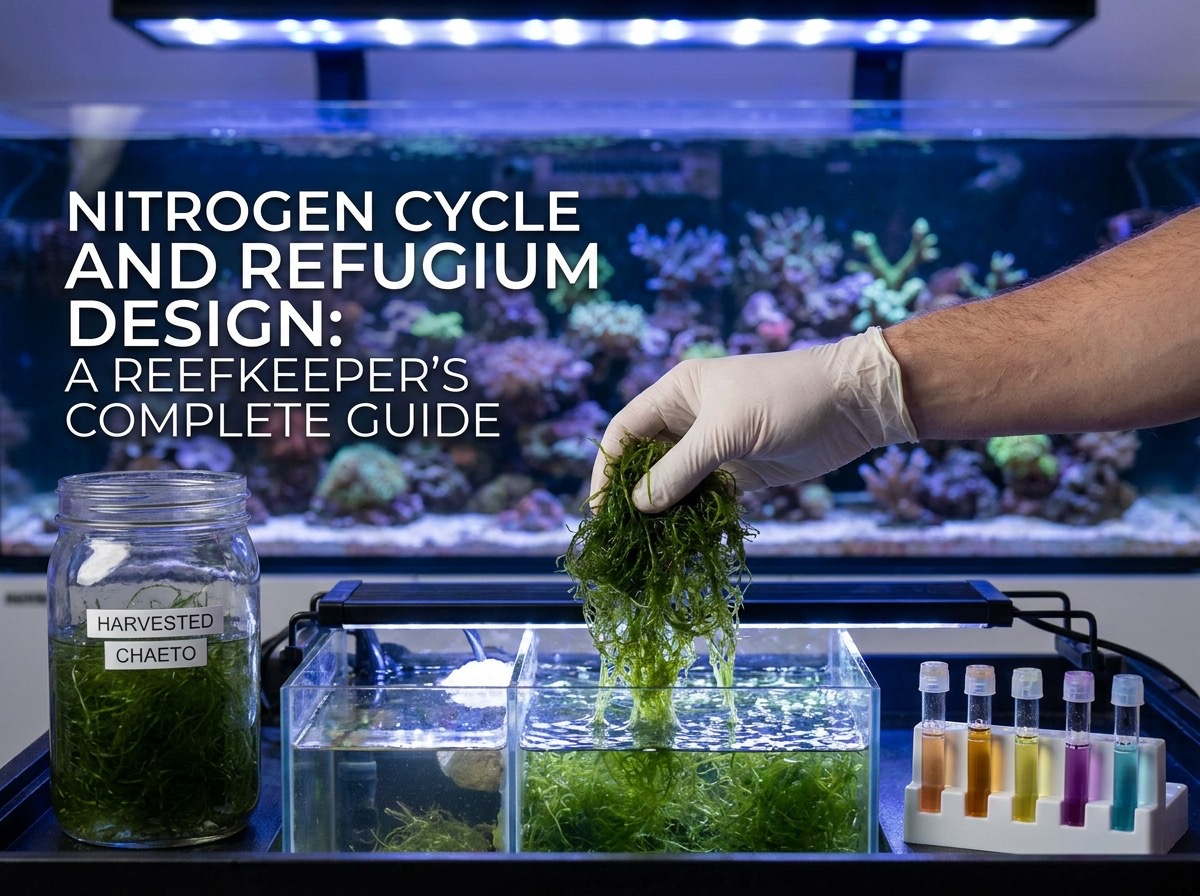
The most common mistake in refugium management: harvesting Chaeto incorrectly. The technique matters because Chaeto, when damaged, releases the nutrients it has consumed back into the water.
The correct protocol:
- Pull out the entire mass of Chaeto
- Place it in a bucket of tank water
- Gently shake to dislodge detritus
- Allow the Chaeto to drain in a net
- Discard the Chaeto (compost, trash — do not flush)
- Replace with fresh Chaeto from the remaining refugium stock, or order new
Some reefkeepers "trim" the Chaeto with scissors in the refugium, leaving the roots. This is faster but releases nutrients from the cut ends. Pulling the whole mass and discarding is cleaner.
Common refugium mistakes
The refugium is too small
A refugium at 5% of display volume doesn't export enough nutrients. For a high-bioload tank, 20-30% is more appropriate.
The lighting is wrong
A dim light, or a light in the wrong spectrum, produces slow macroalgae growth and minimal nutrient export. Strong daylight-spectrum LED lighting (6500K, 1-2 W/gal) is the standard.
The photoperiod is the same as the display
A refugium on the same photoperiod as the display doesn't stabilise pH and competes with zooxanthellae for nutrients. Reverse photoperiod is the right answer for most tanks.
The macroalgae is overcrowded or starved
If the macroalgae has consumed all the available nutrients, it stops growing. The nitrate and phosphate stay low but the macroalgae goes pale and doesn't export any more nutrients. The fix: add more nutrients (small fish load, slightly reduced water changes) or accept that the tank is at equilibrium.
If the macroalgae is dark green and growing fast, it's exporting nutrients. Harvest regularly.
The macroalgae is Caulerpa and goes sexual
Caulerpa releases all its nutrients back into the water when it goes sexual. This is a "nutrient bomb" that can crash a tank. If you have Caulerpa, watch for the early signs (white tips, tattered fronds) and harvest aggressively.
The nitrate target for a healthy reef
A well-run reef tank has:
- Ammonia: 0 ppm
- Nitrite: 0 ppm
- Nitrate: 0-5 ppm (some successful reefkeepers run 0 ppm; others run 5-10 ppm)
- Phosphate: 0-0.03 ppm
A tank at 0 ppm nitrate with a healthy refugium is nutrient-limited. This is fine for SPS-dominated tanks, which prefer low nutrients. LPS and soft corals do better with slightly higher nutrients (5-10 ppm nitrate).
A tank at 20+ ppm nitrate has nutrient excess. The refugium, skimmer, and water changes are not keeping up. Solutions:
- Increase the refugium size
- Add more Chaeto, harvest more aggressively
- Increase water changes to 20% twice weekly
- Add carbon dosing
- Reduce feeding
- Add GFO (granular ferric oxide) for phosphate
The integration with the rest of the system
The nitrogen cycle and the refugium don't operate in isolation. They integrate with:
- Protein skimmer: removes DOCs before they break down into nitrate. Reduces the work for the refugium
- Two-part dosing: calcium, alkalinity, and magnesium supplementation. Some products contain acetate that feeds bacteria, which can affect nitrate
- Water changes: replace trace elements, dilute nitrate, reset the system
- GFO and carbon: media reactors for phosphate and DOC removal
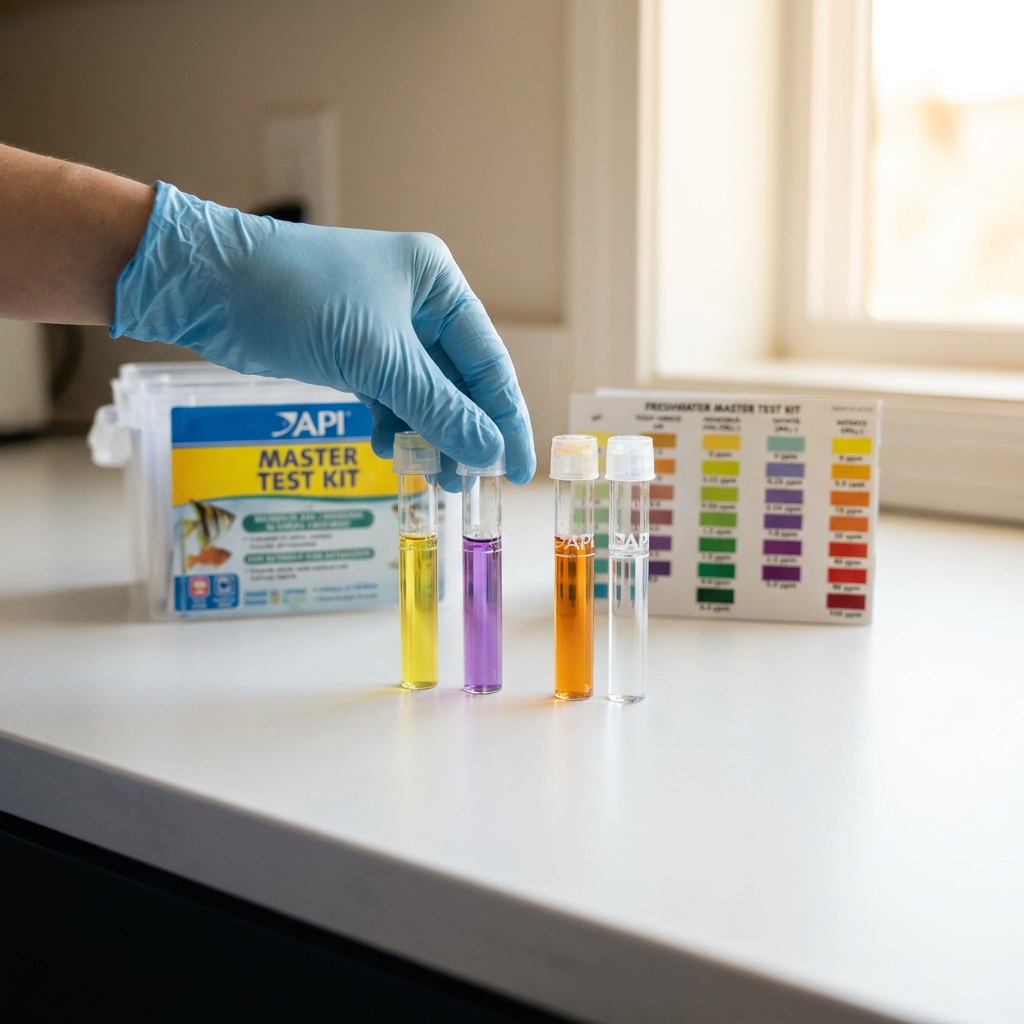
- Test kits: the only way to know what's happening is to test. Salifert, Red Sea, Hanna, and API all have reliable nitrate and phosphate tests
The reefkeeper who monitors (nitrate, phosphate, alkalinity, calcium, magnesium, pH, salinity, temperature) and adjusts the system based on data runs a stable tank. The reefkeeper who adjusts by feel runs a roller coaster.
The bottom line
The nitrogen cycle is the foundation. A cycled, well-maintained biological filter processes the daily waste load to undetectable ammonia and nitrite. The nitrate that remains is exported via the refugium's macroalgae, the protein skimmer's DOC removal, and the water changes. A properly sized, properly lit refugium with reverse photoperiod is the most efficient single piece of nutrient export equipment. Combine this with stable water parameters, regular monitoring, and a thoughtful stocking plan, and the reef runs for years. The science is straightforward. The implementation is patient. The result is a thriving reef that becomes more stable with time.
---
About the author: [Olivia Brown](../Olivia%20Brown.md) holds an MSc in Marine Biology from James Cook University and has 12 years of experience in public aquaria, with a specialisation in coral husbandry and reef ecosystem management.