

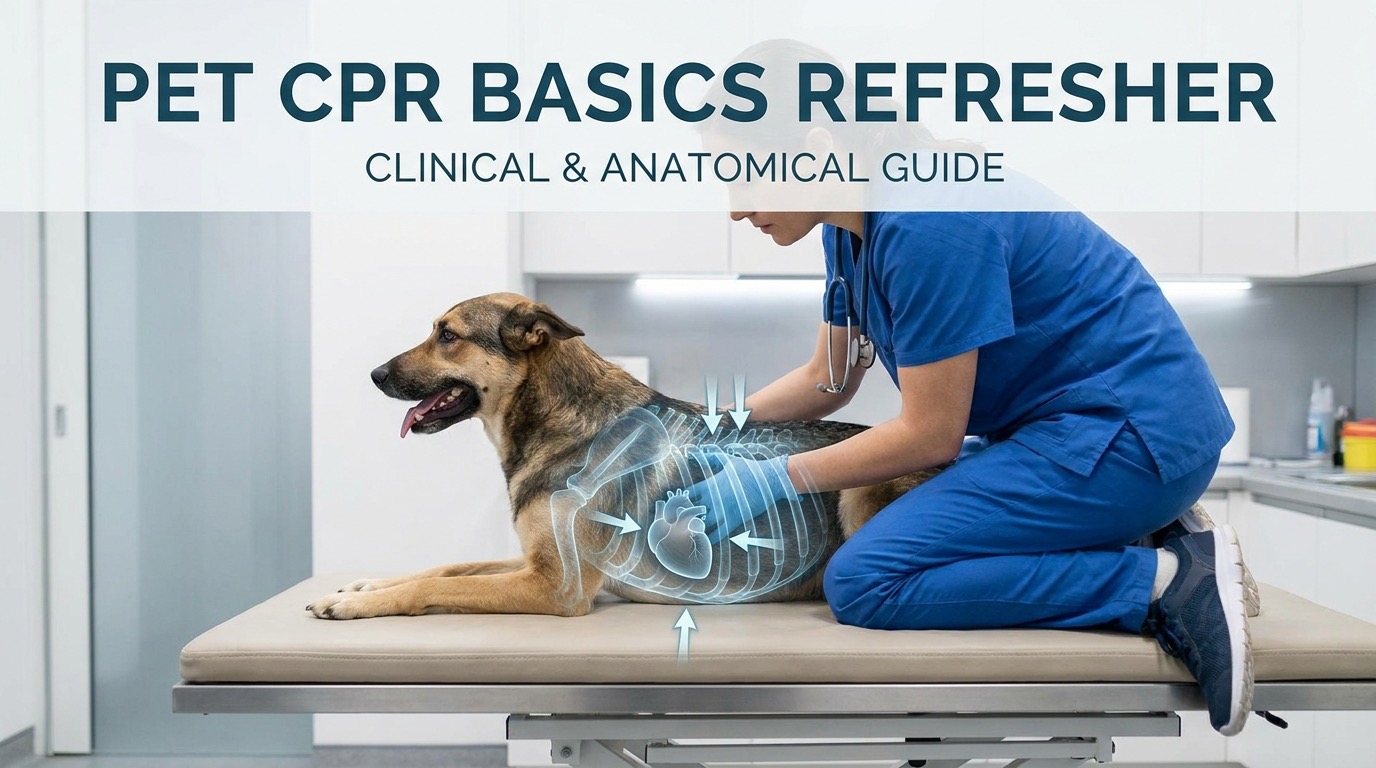
Pet CPR basics: a refresher that could save a life
Pet CPR is not something most owners ever need to perform. But when it is needed — a dog that collapses at the dog park, a cat found unresponsive after a fall, a puppy that chews through an electrical cord — the owner who knows the basics gives their pet the only real chance of survival. The success rate of CPR in veterinary medicine is low overall (under 10% survival to discharge in most published series), but it is dramatically higher when CPR is started within the first 1–2 minutes of arrest.
This is the 6-step refresher. Read it. Memorise the key numbers. Practise on a stuffed animal once a year.
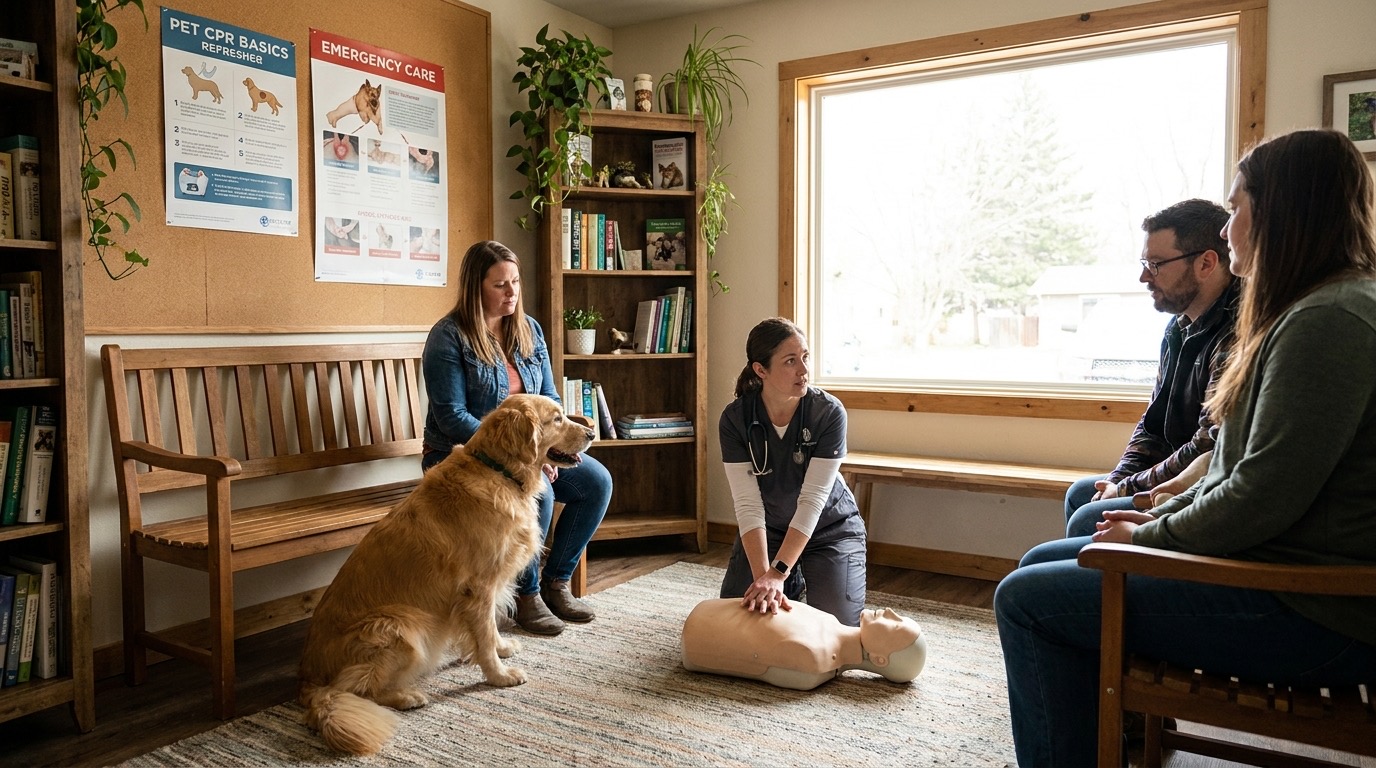
Step 1: Confirm cardiac arrest
Pet CPR is performed only on an animal in cardiac arrest. Confirming arrest matters because CPR performed on an animal with a beating heart can cause serious injury (broken ribs, pneumothorax, internal organ damage).
The checks:
- No breathing: look at the chest for 10 seconds. No chest movement = no breathing
- No heartbeat: place your hand behind the elbow on the chest wall. No pulse or beat = no heartbeat. Alternatively, feel the femoral artery in the groin
- No response to stimulus: gently shake the pet or call its name. No response = unresponsive
If any of these three are positive (breathing, heartbeat, response), CPR is NOT indicated. Seek emergency veterinary care but do not start CPR.
If all three are negative, the pet is in cardiac arrest. Begin CPR.
Step 2: Position and clear the airway
- Place the pet on its right side on a firm, flat surface (the floor is ideal; a sofa is too soft)
- Extend the neck slightly to open the airway
- Pull the tongue forward, away from the back of the throat
- Sweep the mouth with your finger to check for debris, vomit, or foreign material
If you see fluid or debris in the mouth, turn the pet's head to the side and let gravity drain it. Wipe out what you can reach.
Step 3: Begin rescue breathing
If you have a helper, this is the moment to call them in. CPR with one person is far less effective than with two (one does compressions, one does breathing).
- Close the pet's mouth by holding it shut with your hands around the muzzle
- Seal your mouth around the nose for medium and large dogs
- Seal your mouth around both the mouth and nose for small dogs, cats, and puppies
- Give 4–5 quick breaths, watching the chest rise with each breath
- The chest should clearly rise. If it doesn't, reposition the neck, recheck for obstruction, and try again
If the chest still doesn't rise after 2 attempts, suspect airway obstruction. Re-sweep the mouth with your finger.
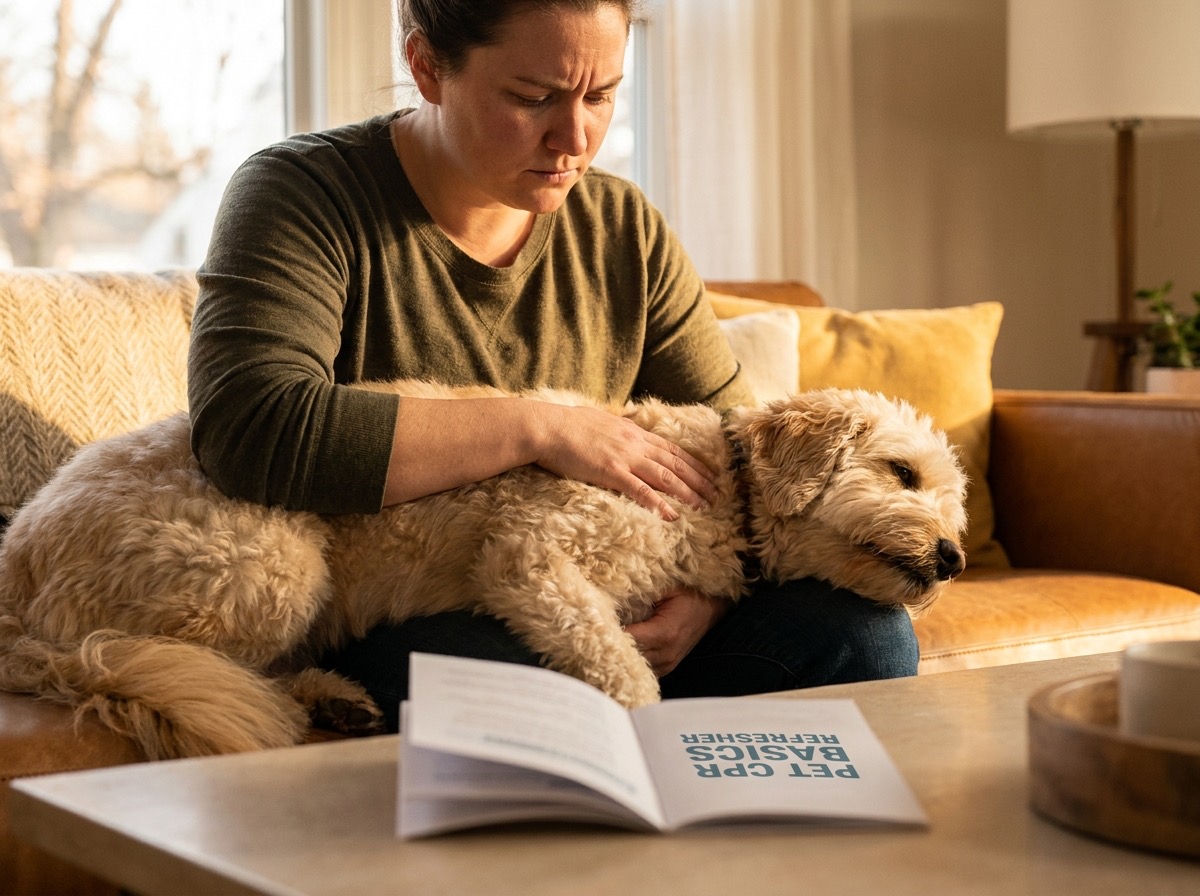
Step 4: Begin chest compressions
The key numbers:
| Parameter | Small dogs/cats (<15 kg) | Medium/large dogs (>15 kg) |
|---|---|---|
| Compression rate | 100–120 per minute | 100–120 per minute |
| Compression depth | 1/3 to 1/2 chest width | 1/3 to 1/2 chest width |
| Hand position | Hand wrapped around chest, just behind elbows | Hand directly over widest part of chest |
| Compression-to-breath ratio | 30:2 | 30:2 |
For small dogs and cats, the wrap technique:
- One hand on each side of the chest, just behind the elbows
- Squeeze the chest between your hands
- Allow full recoil between compressions
For medium and large dogs, the direct technique:
- One hand on top of the other, heel of the bottom hand on the widest part of the chest (typically just behind the elbow)
- Arms straight, shoulders directly above your hands
- Push straight down, allow full recoil
The rate of 100–120 per minute is the same as the Bee Gees song "Stayin' Alive". Sing it in your head. Match the tempo.
Step 5: Cycle and reassess
Continue the 30:2 cycle (30 compressions, 2 breaths) for 2 minutes, then reassess:
- Check for breathing
- Check for a heartbeat (femoral pulse or behind the elbow)
- If breathing and heartbeat have returned: stop CPR. Place the pet in recovery position (right side, neck extended, hindquarters slightly elevated)
- If still no heartbeat: continue CPR for another 2 minutes
- Reassess every 2 minutes
Step 6: Transport if possible
If you have a helper:
- Continue CPR during transport. The helper drives; you stay with the pet
- Call ahead to the emergency vet so they can be ready
If you are alone:
- CPR takes priority over transport in the first 5–10 minutes
- After 10 minutes of CPR with no return of spontaneous circulation, transport may be appropriate even if you have to stop compressions
- An animal that has been in arrest for 15+ minutes without response has a very poor prognosis
What CPR can and cannot do
Pet CPR is a bridge, not a cure. The bridge buys time until the pet reaches a veterinary hospital with:
- An IV line and emergency drugs (epinephrine, atropine, vasopressin)
- A ventilator for prolonged respiratory support
- Defibrillation equipment if the arrest rhythm is shockable
- Advanced monitoring (ECG, capnography, blood gas)
Without these, even excellent CPR cannot keep an animal alive long-term. The goal is to maintain some circulation and oxygenation until you reach the hospital.
Common mistakes
1. Starting CPR on a pet that is not in arrest
The most common error. An unconscious pet that is breathing and has a heartbeat does not need CPR. Check carefully. If you are not sure, call your emergency vet and ask.
2. Compressing too fast or too slow
The 100–120 bpm rate is the target. Faster compressions do not allow full chest recoil, which reduces effectiveness. Slower compressions do not generate enough blood flow.
3. Not allowing full chest recoil
Between each compression, the chest must fully expand back to its resting position. If you are leaning on the chest between compressions, recoil is incomplete and circulation suffers. Lift your weight between compressions.
4. Insufficient compression depth
A compression that does not move the chest wall by at least 1/3 of its width does not generate adequate stroke volume. You should feel the chest compress noticeably under your hands.
5. Skipping the breaths
Some owners are reluctant to do mouth-to-nose breathing on a pet. Skipping breaths reduces effectiveness significantly. The breaths matter for oxygenation of the blood that the compressions are circulating. If you truly cannot bring yourself to do mouth-to-nose, do compression-only CPR — it is less effective but better than nothing.
6. Stopping too early
A pet that has had CPR for 2 minutes and is still in arrest may respond at 4, 6, or 8 minutes. The published survival rates include many cases where CPR was continued for 10–15 minutes before return of spontaneous circulation. Stop only when:
- The pet is clearly recovering (breathing, heartbeat restored)
- You are physically unable to continue
- You have arrived at a veterinary hospital and they have taken over
- 20+ minutes have passed with no response and no defibrillation available
Special situations
Cats and small dogs (<5 kg)
The wrap technique is preferred. The chest is small enough to compress with one hand wrapped around it. Compress more shallowly (1/3 of chest width is plenty).
Barrel-chested breeds (bulldogs, pugs)
These breeds have a different chest anatomy. Compressions on the widest part of the chest (directly over the heart) is more effective than the standard behind-the-elbow position. Consider rotating between the two positions if you have a helper.
Choking / airway obstruction
If you suspect choking (sudden collapse, pawing at face, blue gums):
- Look in the mouth and remove visible obstructions with your finger or forceps
- Do not blindly sweep — you may push the object further down
- Heimlich for dogs: stand behind the dog, place fists below the rib cage, give 3–5 firm upward thrusts
- Heimlich for cats: hold the cat with head down, give 3–5 firm back blows between the shoulder blades, then check the mouth
After the obstruction is cleared, begin CPR if the pet is still in arrest.
Drowning / near-drowning
For a pet pulled from water:
- Clear the airway (water usually does not fill the lungs during drowning — the larynx seals)
- Begin rescue breathing, then CPR if no heartbeat
- The "drain the water" myth is not necessary and wastes time
The bottom line
Pet CPR is a low-frequency, high-stakes skill. The 6 steps are simple to read and hard to perform under pressure. Read this article, take a hands-on pet first-aid class (offered by most Red Cross branches and many vet schools), practise on a stuffed animal once a year, and keep your emergency vet's number in your phone. The dog that collapses at the dog park, the cat that falls from a balcony, the puppy that chews through an electrical cord — these are the moments when the 5 minutes you spent learning CPR can save a life.

---
About the author: [Dr. Sofia Martinez](../Sofia%20Martinez.md), DVM, CertECC, is a UCM-trained veterinarian with 13 years of practice and former head of emergency surgery at Hospital Veterinari 24h in Barcelona.